Campaign Mapper: Overview and Usage

Getting Started
Mapping your campaigns is a crucial step towards correctly using any of Measured’s features. When multiple campaigns with a similar strategy are combined into tactics, enough data is generated for accurate measurement. This lets Measured determine the incrementality of your channel-based strategies.
After following the instructions below, your campaign will be in a processing period for 2-3 hours before being mapped. After that period, the data from the campaign will be applied to your Measured dashboards and features the next time your data refreshes.
Click here to learn more about tactics and how they are used in Measured.
Accessing the Campaign Mapper
There are multiple ways to access the Campaign Mapper.
- You can click the wrench icon in your main navigation bar from any page within Measured and select Campaign Mapper from the drop-down menu.
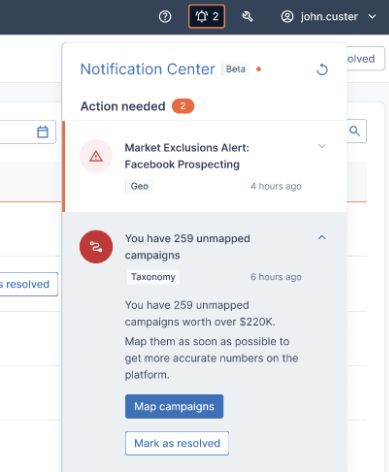
- If you receive a notification regarding unmapped campaigns, clicking Map campaigns within that notification will take you to your Campaign Mapper screen where you can complete the action.
Mapping Your Campaigns
You can map any of your unassigned campaigns into one of your existing tactics in just a few steps. If you would like to create a new tactic, segment, or channel, contact your customer success partner.
We recommend prioritizing which campaigns you map based on which ones have the largest spend amount. This will ensure that Measured is taking as much of your spending into account as possible when reporting to you. To assist with this, both your platforms and the campaigns they contain will be listed in descending order by spend amount by default.
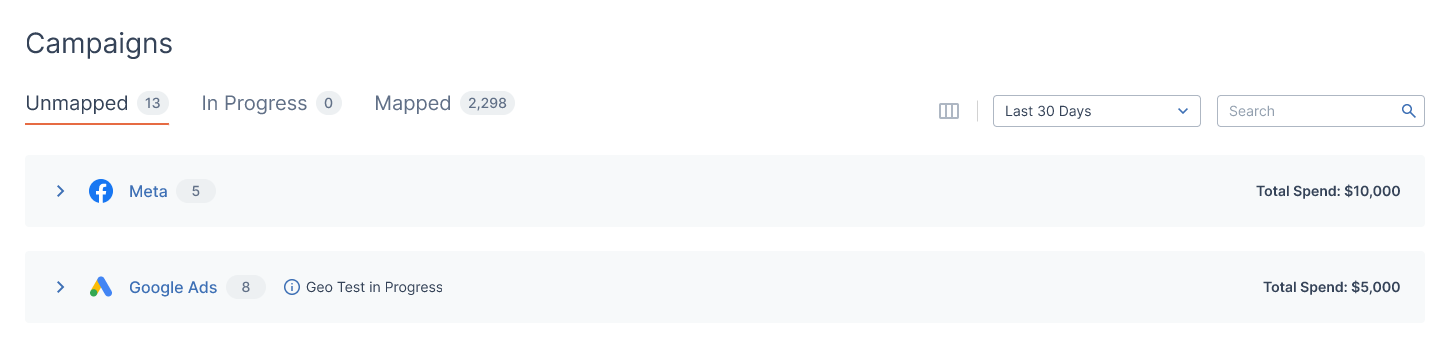
- Go to the Campaigns section at the bottom of the main Campaign Mapping page. If it is not already selected, make sure you are on the Unmapped tab.
- You will see a list of your integrated platforms. Clicking one will unfold it to display a full list of unmapped campaigns to choose from.
If a platform has Geo Test in Progress written out to the right, we strongly recommend mapping its applicable campaigns. This will ensure that your ongoing test is as thorough as possible. - Select one or more of the listed campaigns. This will trigger a modal to the right containing mapping options.
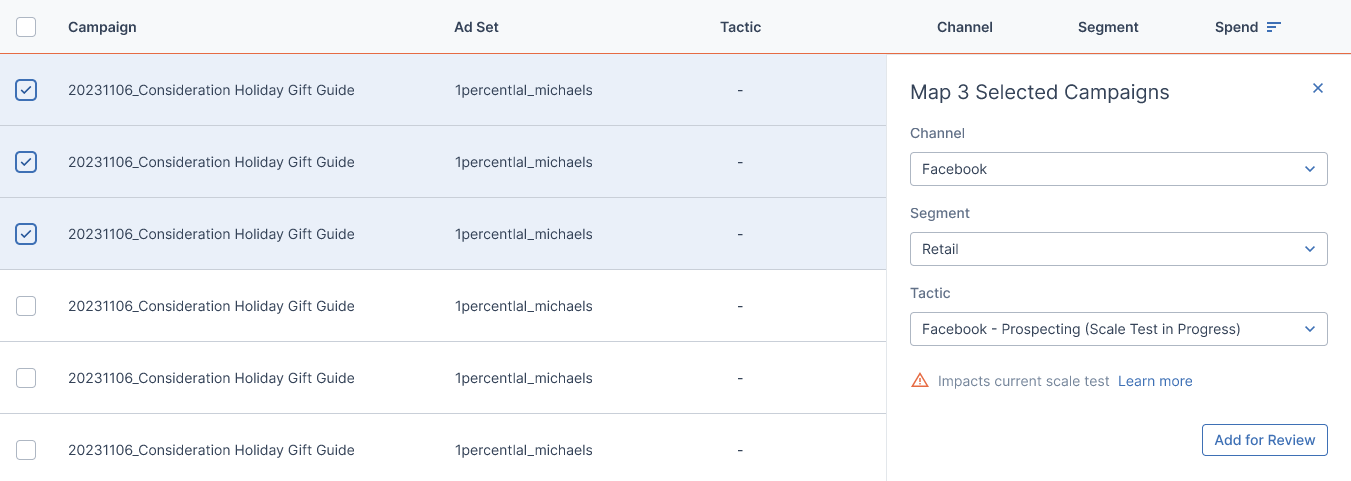
- Select the channel, segment, and tactic that your campaign will be mapped to and click Add For Review.
- The modal will disappear and you will see your selected campaigns removed from the Unmapped list. Click Review all campaigns at the bottom-right of the screen.
- You will be taken to a screen where you can review your mapping assignments before moving forward. This will also show any potential impact your new mappings will have on active geo tests. Click Submit if you are ready to proceed.
Note: The Modified column shows the last person who made any changes to a campaign’s mapping. Make sure to refer to this column if multiple people on your team use the Campaign Mapper so assignments do not get overwritten.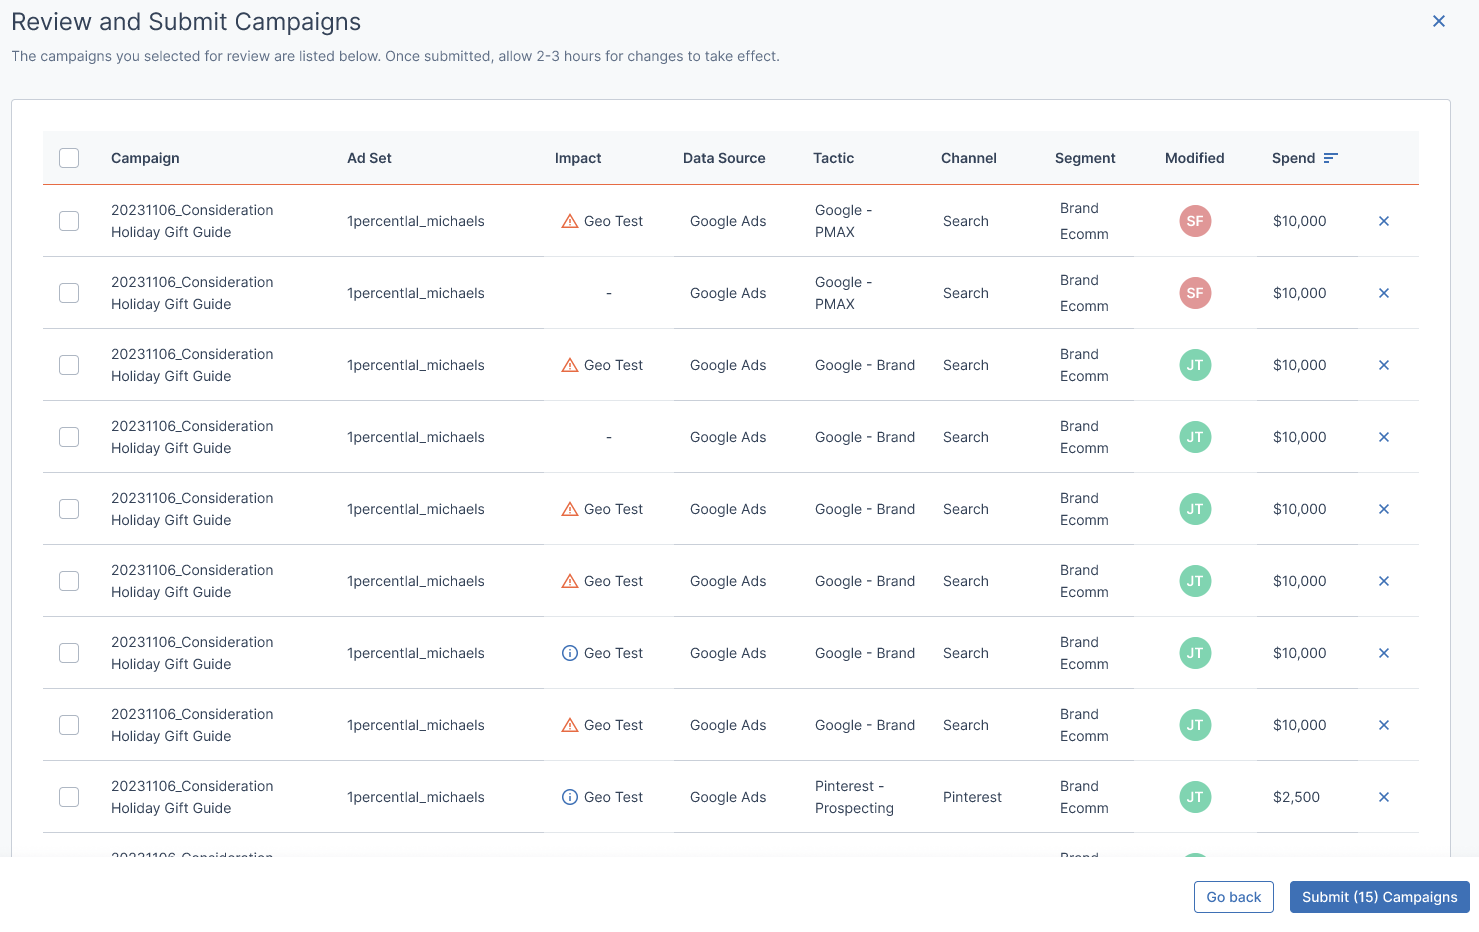
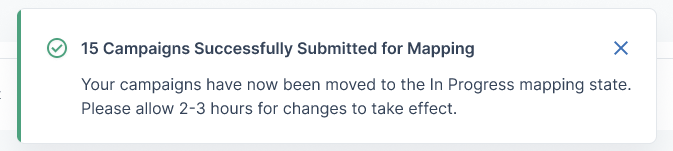
- A message confirming your action will appear at the top of your screen. Your campaigns will be moved to the In Progress tab.
Unmapping Campaigns
You may need to unmap a campaign from a tactic if it becomes outdated or is no longer contributing to your marketing strategies.
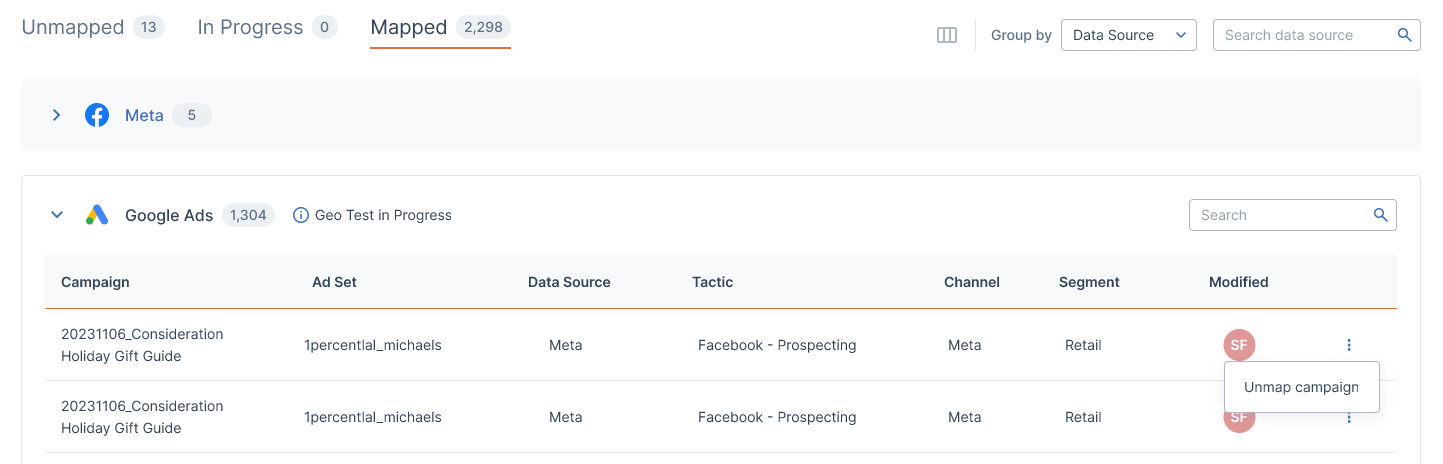
- In Campaign Mapper, click on the Mapped tab and open the integrated platform containing the campaign you wish to unmap.
- After locating the campaign from the list that appears, scroll to the right of its column. Click the three dot icon and then Unmap campaign.
- Your campaign will then return to the Unmapped tab where it will be listed under the integrated platform it stems from.